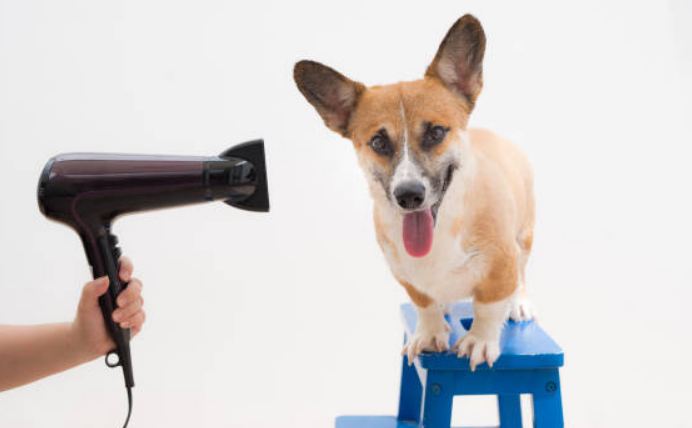
There are various pieces of drying equipment available for the professional to use. The most common being the free-standing hot air blowing dryer.
Method of drying medium to long-coated breeds
Having towel-dried or using a blaster (if the dog will allow), place the dog on a non-slip surface, preferably attached via a lead to a hook in the wall or a frame over the table, so that the dog feels secure when the dryer is directed at him.
If the dog is used to being dried, you may start on the head so that the dog warms up quickly, however, if the dog is a little timid or fidgety it is best to start from the back and work towards the front allowing him to become accustomed to it.
Pick up the hair onto a slicker brush and direct the hot air onto this (not onto the dog’s body as it could be too hot), the slicker entangles and twists the hair, thus allowing the roots to dry as well as the hair on the brush.
This process continues until all the hair is dry, however, the key is to be systematic- only move on when the section you are working on is totally dry.
Many dryers today have two settings – many dogs need the weaker (therefore quieter) of the settings directed at them when working on their heads.
Fluff Drying Poodles, Bichon Frises and Bedlington Terriers
Having mastered the basic techniques of drying you can move on to fluff drying the curly coats. Unlike the other breeds, you do not attempt to dry as much as you can before starting to fluff dry.
The secret is to towel dry one side more than the other so that the coat does not begin to dry naturally, therefore curly when working on the other side.
It is important to dry the head first on these breeds so that no hint of a curl is seen- therefore perfectly dried ready for shaping. The pom on the poodles should then be dried followed by the legs and body.
The slicker brush should be in constant motion throughout, flicking the hair in all four directions- the quicker the flick the better the result!
Remember that you are not brushing to remove knots- as these should have been removed before bathing, therefore pressure is not necessary, it’s the correct technique that is vital.
Do not move on until the section you are working on is thoroughly dry, for a damp curly coat will result in kinks and waves- a coat on which it is impossible to achieve a desirable finish when scissoring.
Remember when using the slicker to take care around the facial area- for the pins can quite easily scratch the eye lenses, also take care around the hocks and belly, which are sensitive and can be scratched equally easily.

