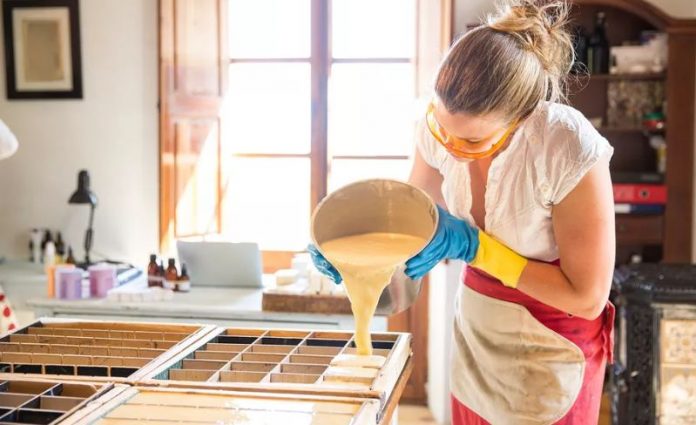
Making homemade soap is a popular craft and a great business opportunity. But soap is not supposed to be hard to make? Not anymore! You can make your own soap at home easily with the melt and pour technique.
The only things you will need to buy are: a melt and pour soap base, a fragrance or essential oil, and soap dye (you can also use food coloring).
You may also wish to buy some plastic molds, but it is possible to find other things that work as a mold around your house, like old yogurt containers or jello molds. You only need to make sure that the container you choose as mold is flexible enough so you can remove the soap when it hardens.
You can find the other things you need in your kitchen: a knife to cut the soap base, a wooden spoon to mix your soap, and a double boiler (or a bowl if you wish to use your microwave to melt the soap base).
First, you need to cut your soap base into 1/2″ chunks. You can make any amount of soap you wish, it only depends on the size of your bowl or double boiler and on the number of molds you have.
After, if you use a double boiler, put your soap base in the top pan. Heat very slowly and stir gently to avoid causing bubbles. Do not allow the soap to boil, it may get a yellowish color and eventually burn.
If you use your microwave, put the soap chunks in a bowl. Heat at 20-30 seconds intervals, stirring gently between each interval. You can cover the top of your bowl with saran wrap to avoid spills.
Once all the soap base is melted and have a smooth texture, add the fragrance or essential oil and the dye, stirring slowly once again until everything s well mixed.
You only need about .5 oz of each additive by the pound of soap (except for food coloring, you only need a few drop-ins that case). Your best bet for more information would be the label of those products if any instructions are included.
Then, you can start to pour your soap into the molds. Pour slowly to make sure you do not make bubbles. If you notice any after you are done pouring, spray the top of the soap with rubbing alcohol, which eliminates most of the bubbles without damaging your soap.
Set your molds to the side and let them cool. Once they have cooled a bit, place them in the fridge for about half an hour, it’ll be easier to remove them from their mold if they cool that way.
Finally, you can now remove your soaps from their mold. Place them on a rack and allow it to finish drying for about 24 hours.
After that, the only limit is your imagination. You can put them in cello bags or shrink-wrap to sell them, give them away as gift or, why not, use them for yourself! Just make sure you wrap them at least in saran wrap to preserve the fragrance.

